Build minial image for Raspberry Pi
This tutorial is to practice Yocto build for Raspberry Pi 3 B+ board.
Last update: 2022-05-07
Table of Content
This article use Yocto on Dulfell version
Check the Release table to see the version and tags.
Note to select the latest branch supported by all layers. For example, on the writing date (Arp 7th 2022), the latest version is Honister (3.4.3), but the latest LTS version is Dunfell (3.1.15) which was released in Arp 2020. So, it is reasonable to use Dunfell for better compatibility.
Raspberry Pi Layer#
Go to OpenEmbedded Layers to search for layers raspberrypi in branch dunfell:
https://layers.openembedded.org/layerindex/branch/dunfell/layer/meta-raspberrypi/
Read the overview manual to get some main points:
-
Repo
-
Dependencies:
-
git://git.yoctoproject.org/poky
- Branch:
dunfell
- Branch:
-
git://git.openembedded.org/meta-openembedded
- Branch:
dunfell - Layers:
meta-oe,meta-python,meta-multimedia,meta-networking
- Branch:
-
-
Supported Machines:
- raspberrypi
- raspberrypi0
- raspberrypi0-wifi
- raspberrypi2
- raspberrypi3
- raspberrypi3-64 (64-bit kernel & userspace)
- raspberrypi4
- raspberrypi4-64 (64-bit kernel & userspace)
- raspberrypi-cm (dummy alias for raspberrypi)
- raspberrypi-cm3
can be checked using
ls ../meta-raspberrypi/conf/machine/ -
Images
- core-image-base
- rpi-test-image
can be checked using
ls ../meta-raspberrypi/recipes-core/images/
Download and Setup#
Go to project folder:
cd $HOME
Download poky and metadata layers#
git clone -b dunfell \
    git://git.yoctoproject.org/poky.git
git clone -b dunfell \
    git://git.yoctoproject.org/meta-raspberrypi.git
git clone -b dunfell \
    git://git.openembedded.org/meta-openembedded
Create build folder#
source poky/oe-init-build-env
Add layers#
bitbake-layers add-layer ../meta-openembedded/meta-oe
bitbake-layers add-layer ../meta-openembedded/meta-python
bitbake-layers add-layer ../meta-openembedded/meta-multimedia
bitbake-layers add-layer ../meta-openembedded/meta-networking
bitbake-layers add-layer ../meta-raspberrypi
bitbake-layers show-layers
layer                 path                                      priority
==========================================================================
meta                  /home/vqtrong/poky/meta                          5
meta-poky             /home/vqtrong/poky/meta-poky                     5
meta-yocto-bsp        /home/vqtrong/poky/meta-yocto-bsp                5
meta-oe               /home/vqtrong/meta-openembedded/meta-oe          6
meta-python           /home/vqtrong/meta-openembedded/meta-python      7
meta-multimedia       /home/vqtrong/meta-openembedded/meta-multimedia  6
meta-networking       /home/vqtrong/meta-openembedded/meta-networking  5
meta-raspberrypi      /home/vqtrong/meta-raspberrypi                   9
Set build configs#
# target
MACHINE ?= "raspberrypi3-64"
# download folder
DL_DIR ?= "${HOME}/yocto-downloads"
# shared state folder
SSTATE_DIR ?= "${HOME}/yocto-sstate-cache"
# Dunfell (3.1.15), see more in <http://sstate.yoctoproject.org/>
SSTATE_MIRRORS ?= "file://.* http://sstate.yoctoproject.org/3.1.15/PATH;downloadfilename=PATH \n "
# add a feature
EXTRA_IMAGE_FEATURES_append = " ssh-server-dropbear"
# add a recipe
CORE_IMAGE_EXTRA_INSTALL_append = " nano"
Check build configuration:
bitbake core-image-base -n
Build Configuration:
BB_VERSION           = "1.46.0"
BUILD_SYS            = "x86_64-linux"
NATIVELSBSTRING      = "universal"
TARGET_SYS           = "aarch64-poky-linux"
MACHINE              = "raspberrypi3-64"
DISTRO               = "poky"
DISTRO_VERSION       = "3.1.15"
TUNE_FEATURES        = "aarch64 cortexa53 crc"
TARGET_FPU           = ""
meta
meta-poky
meta-yocto-bsp       = "dunfell:ab03f130e449fdb24de79b119c73f0969f1bd801"
meta-oe
meta-python
meta-multimedia
meta-networking      = "dunfell:86b864a4d8c28185a4a464583fb86f73aa22847a"
meta-raspberrypi     = "dunfell:934064a01903b2ba9a82be93b3f0efdb4543a0e8"
Download packages#
bitbake core-image-base --runonly=fetch
Build and Run#
Build the image#
core-image-base is a console-only image that fully supports the target device hardware.
bitbake core-image-base
Image file
The raw disk image is core-image-base-raspberrypi3-64.wic.bz2, located in tmp/deploy/images/raspberrypi3-64/.
The WIC file can be directly flash to SD Card or eMMC:
-
Extract the WIC file:
cd tmp/deploy/images/raspberrypi3-64 bzip2 -d -f core-image-base-raspberrypi3-64.wic.bz2 -
Dump image to the SD Card at
/dev/sdbsudo dd bs=4M if=core-image-base-raspberrypi3-64.wic of=/dev/sdb status=progress conv=fsync
Or use Raspberry Pi Imager or balenaEtcher to flash it.
Run on Hardware#
Plug the flashed SD Card to a Raspberry Pi 3 B+ board, and power it on. With a HMDI monitor attached to the board, you will finally see the console terminal as below.
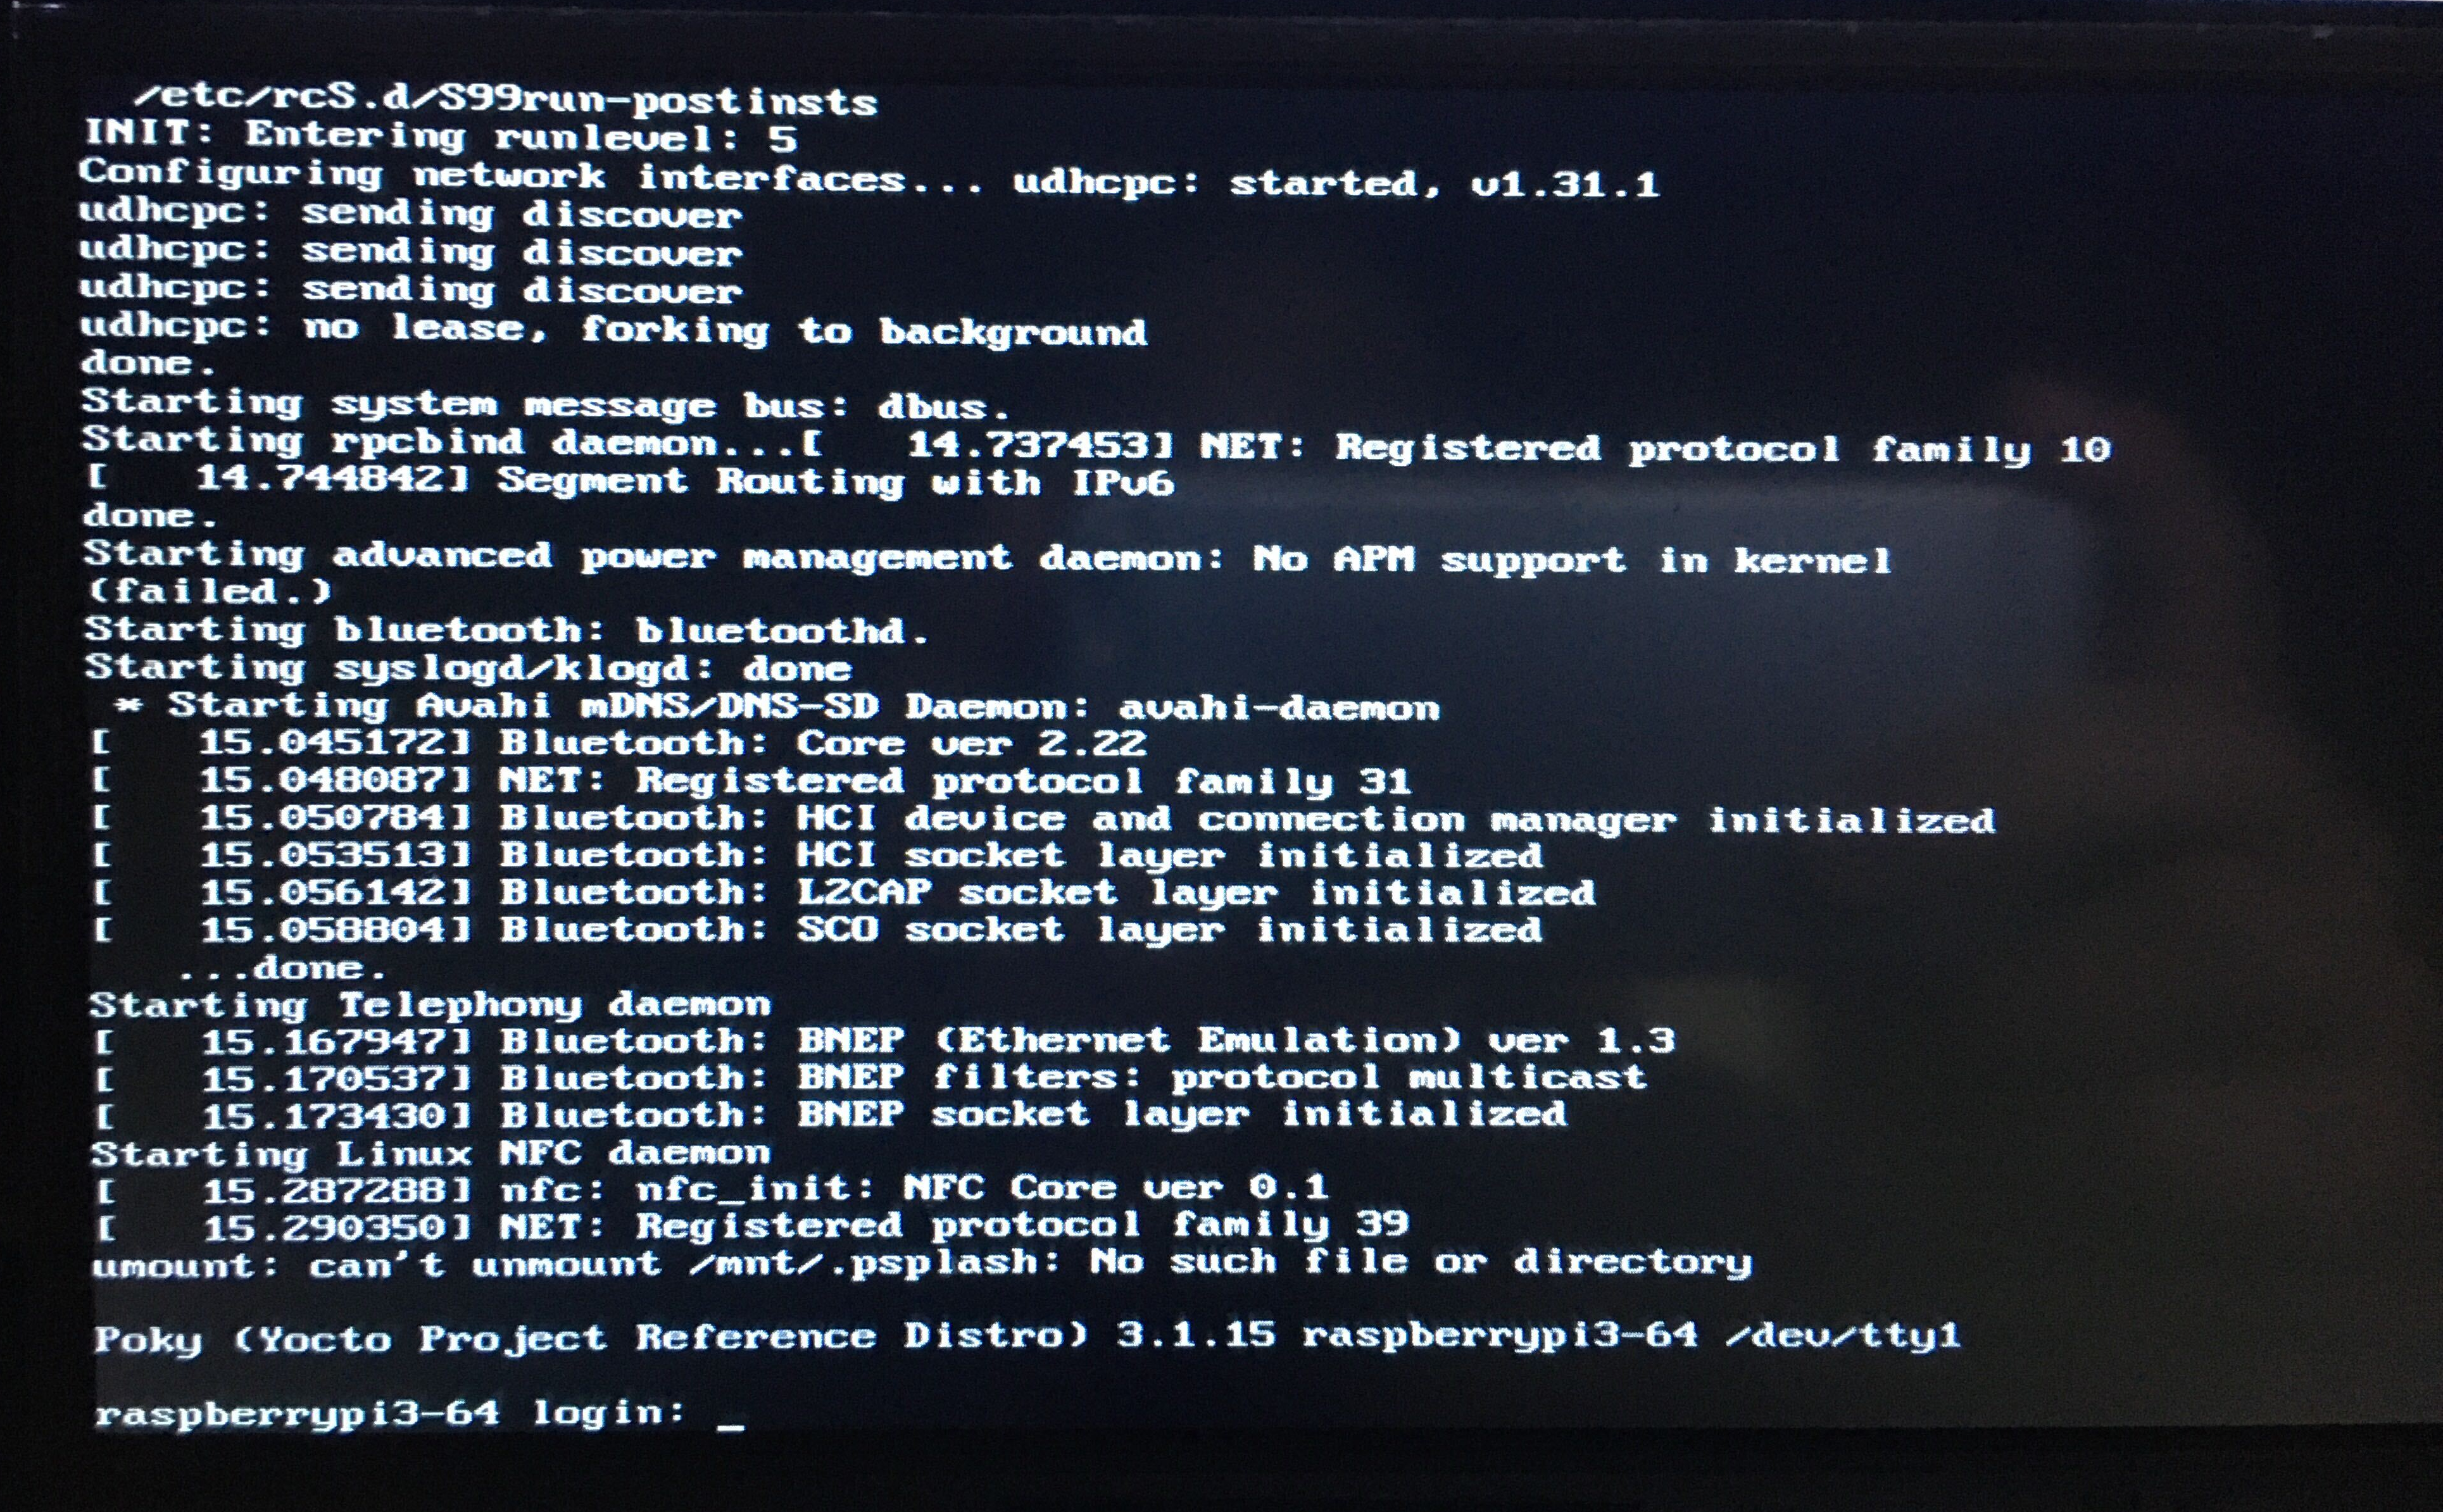
By default, the username is root with an empty password. To turn it off, run poweroff command.
Connect to Network
Show available interface:
ip a
If Ethernet port is connected to a router, Pi will get an IP address automatically through udhcpd service.
For the WiFi network, Pi includes all packages necessary for Wireless connection, however, the WiFi interface and configuration are not ready by default. Here are steps to use WiFi:
Add WiFi credential:
wpa_passphrase “<SSID>” “<Password>” >> /etc/wpa_supplicant.conf
Bring up the interface:
ifup wlan0
The system will run wpa_supplicant and udhcpc to connect to the selected WiFi network. Verify the assigned IP with:
ifconfig wlan0